Nov 20, 2013

Pumpkins! (and Pumpkin Pie for Thanksgiving)


Hi! as promised, this week is pumpkin pie week, in time for Thanksgiving next Thursday. Before talking about my first pumpkin pie, I'll finish telling you about my adventure at the Eckert's Grafton Farm

The tractor that drives you around was unexpected, I would have happily walked all over the place just because the distances are not a big deal, I think it's just part of the experience, and a great one.


I've never seen a pumpkin patch before, I only heard about it from Linus every Halloween when he faithfully waits for the Great Pumpkin at the pumpkin patch. I got all excited as a kid, and didn't lose the chance to take pics. I was also blown away with all the different kinds of pumpkin they had, all sizes, shapes and colors.

As for the picking, we picked an 11 pound beautiful pumpkin that I grew fond of over the days and weeks that "she" hung out with us, losing it's green patches and getting ripe.

We chose to take it home because it looked "small" in comparison with the others, let me tell you, not small at all. I'll always remember you "first pumpkin" :').


When it was finally ripe I googled how to roast it to make some pumpkin puree and learned that the ideal type to use for pies is the "sweet pumpkin". After researching I just went with my gut because some people all over the web actually had success with a pumpkin like mine.

I found this amazing video on youtube from a channel called Chef Tips. Just follow the directions and you'll be fine. If you have extra pumpkin puree you can freeze it. (btw, the Chef has a delicious pumpkin bread recipe that'll I'll try with the extra pumpkin puree I have). This can be a little time consuming so be prepared, I did it a few days in advanced. 

Then for the baking pie part I followed this also amazing video from Food Whishes, I did it step by step with amazing results. The only ingredient I didn't find or use was the Chinese 5-spice and instead of the pumpkin can I used 2 cups of my pumpkin puree.


A few tips:
1. I used pre-grounded nutmeg just because I use it a lot and rather have it ready, it's fine :) if you are a little more gourmet it's definitely way better if you ground it fresh.

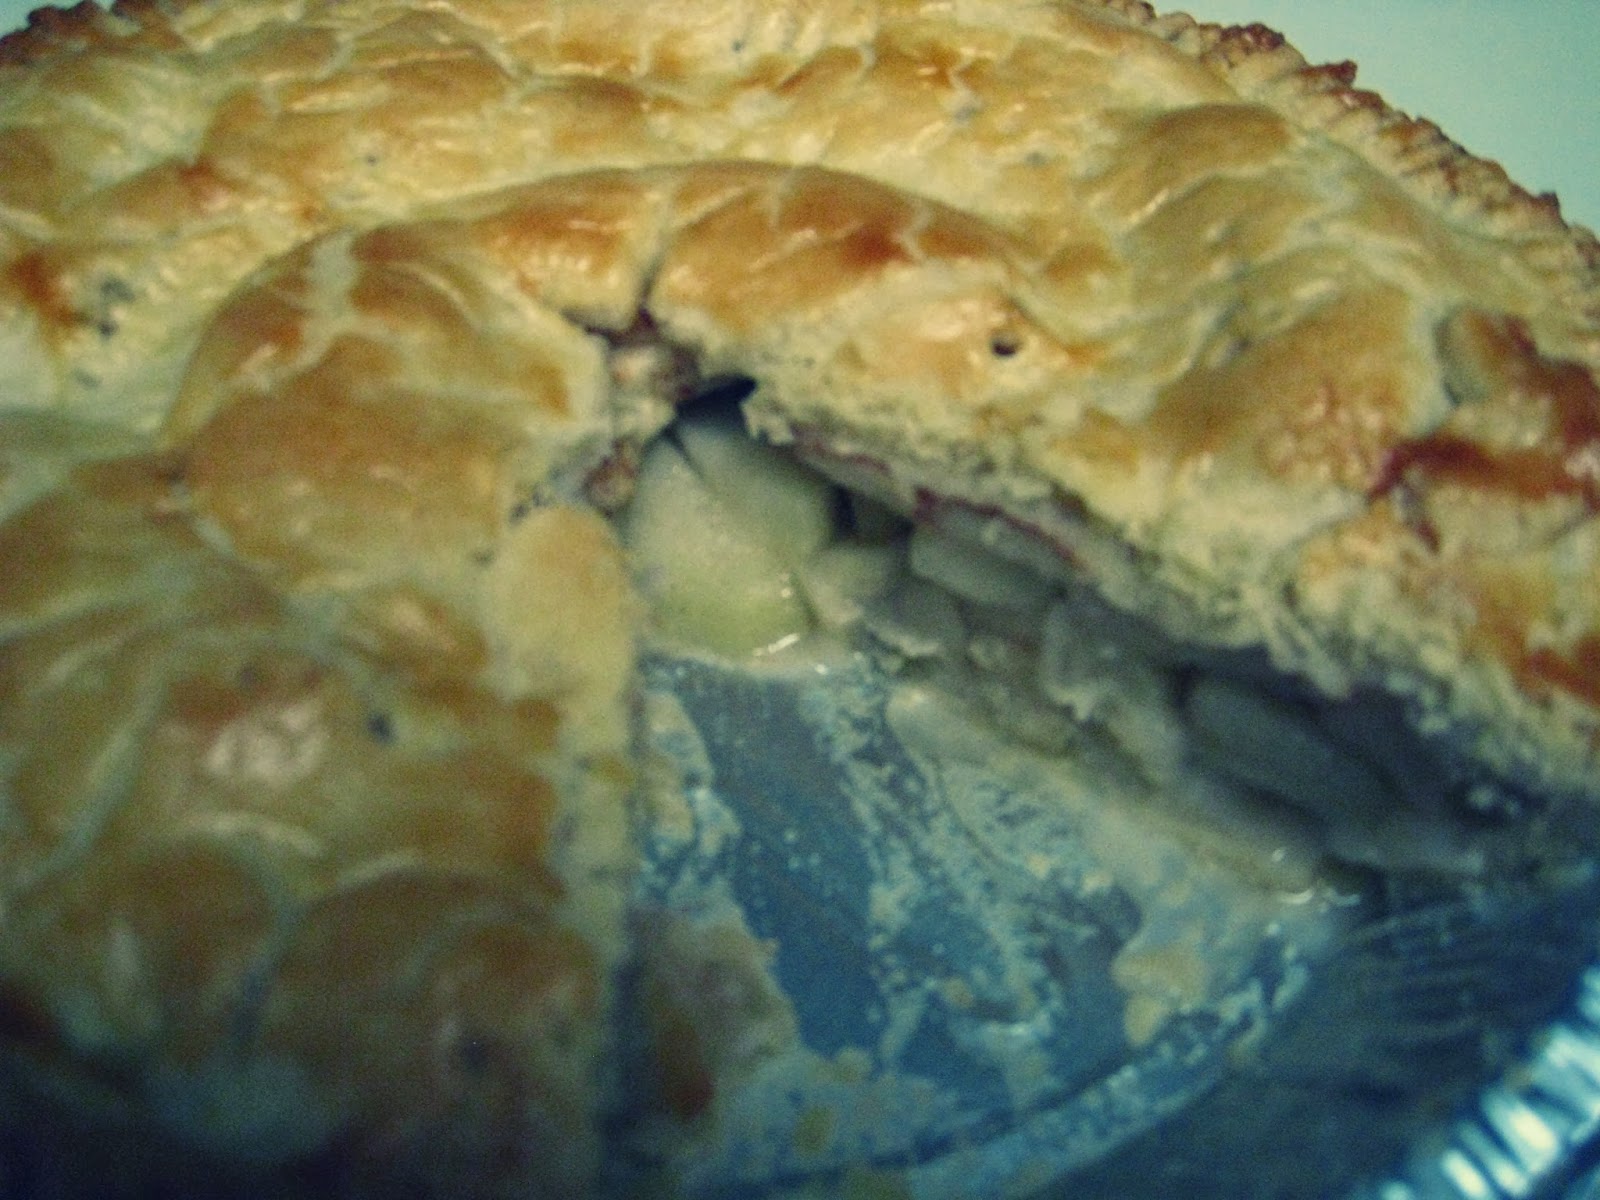
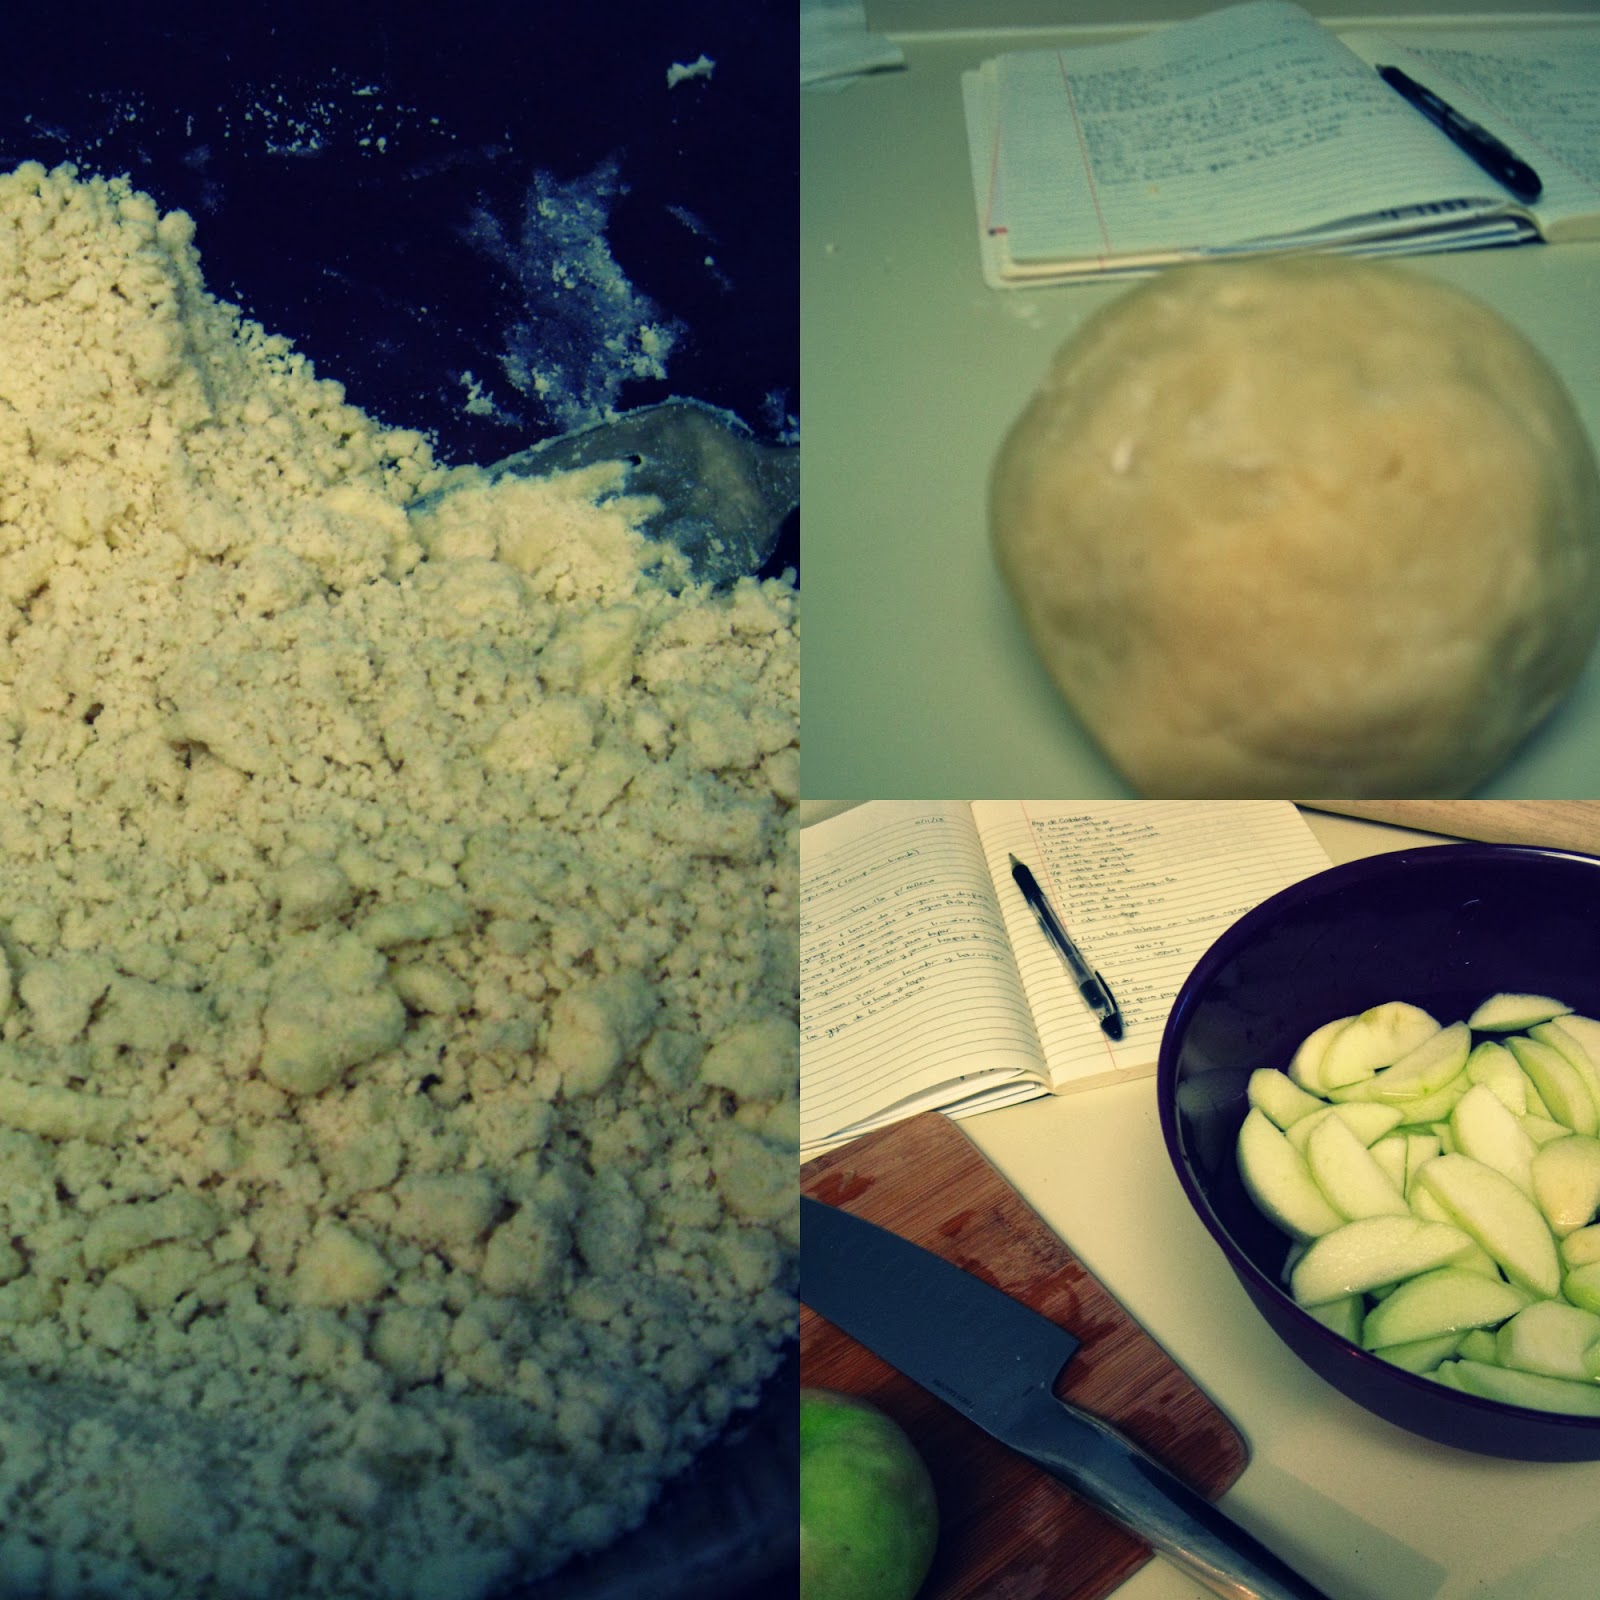
2. I used half of the dough recipe from my apple pie of last week, just check the previous post, remember, just half!

3. I used a foil 9 inch pie pan, I couldn't really tap the pie or move it easily because the pumpkin mix is "liquidy" and heavy, I needed help to put it in the oven, if you have a glass pie pan it will be much better and easier to handle. If not, just remember to be careful.

4. And finally, it's a little hard to tell when the pie is done, when you are getting close to taking it out of the oven just give it a gentle wiggle and the center should be "wiggly" but not liquid, just go with your instincts. I didn't want to mark it with a knife but I wasn't really sure so I used a toothpick like an 1 1/2 inch from the edge, if it comes out clean, it's done! :) I usually turn off the oven and let stuff cool in it for a little bit in there and then pull them out, so they don't get a temperature shock. The pumpkin mix might be a little puffy and will eventually go down when the pie cools off.

We never waste in this household! I had enough dough and mix for two baby pies :)

Let it chill in the fridge for a night and it'll be ready to eat the next day!

Hope you give it a try for Thanksgiving, (I will definitely be making it next week) it was a quick and easy one to bake and I had delicious results.

PO

PS. Here's the video I used for the pumpkin seeds. Final tip, I used popcorn salt, worked out great!

 ........................................................................................................................................................................................

Calabazas! (y Pay de Calabaza para Día de Acción de Gracias)

Hola! Como prometí, esta semana es la semana de la calabaza, aprovechando que se acerca el Día de Acción de Gracias. Antes de hablar del pay, voy a terminar de contarles sobre mi aventura en la Granja de Eckert's en Grafton.

Hay un tractor que te pasea por el lugar, lo cual no esperaba. No es muy necesario pues las distancias no son exageradas, creo que mas bien es parte de la experiencia, y una bastante divertida.

Nunca había visto un huerto de calabazas, solo había escuchado de ellos por Linus (de los personajes de Peanuts) que siempre espera a "La Gran Calabaza" en Halloween. Me emocioné como una niña y no perdí oportunidad de tomar muchas fotos. Me impresionó también todos los tipos de calabazas que se cosechan en la granja.

Escogimos una hermosa calabaza de 5 1/2 kilos, de la cual me encariñé durante los días que la tuvimos en casa madurando. Se veía chica cuando la trajimos a casa comparada con las demás, créanme, nada pequeña. Siempre te recordaré primer calabaza :').

Cuando finalmente estuvo lista, busqué en Internet como hacer puré y descubrí que para hacer pay la mejor es la "calabaza dulce". Después de investigar un poco más, mucha gente en la web ha tenido éxito con calabazas como la mía.

Encontré este excelente video en youtube del canal Chef Tips, solo sigan las instrucciones y no tendrán problema, el resto del puré pueden congelar. Yo voy a usar una parte para hacer esta receta de pan de calabaza del mismo canal. Hacer el puré puede tomar tiempo así que estén preparados.

Para el pay seguí la receta de este super video del canal Food Wishes, seguí todos los pasos con excelentes resultados. El único ingrediente que no use fueron las especias chinas y en lugar de la lata de puré que el usó yo usé 2 tazas de mi puré.

Algunos tips:
1. Usé nuez moscada previamente molida, si quieren algo mas gourmet pueden molerla al momento.

2. Yo usé la mitad de la la receta de la masa del post de la semana pasada, recuerden, solo la mitad!

3. Yo uso moldes de aluminio, fue difícil moverlo porque la mezcla es pesada y muy líquida.  Necesité ayuda para meter el pay al horno, si tienen un molde de vidrio será mucho más fácil, sino sólo tengan cuidado al mover el pay con el molde de aluminio.

4. Finalmente, es un poco difícil saber cuando el pay esta listo, cuando se acerque el tiempo de sacarlo del horno solo muevanlo delicadamente y si el centro esta gelatinoso pero no liquido quiere decir que ya esta listo. Yo no quise usar un cuchillo, pueden usar un palillo también como a 5 cm. de la orilla del pie, si sale limpio ya esta listo! :) Usualmente yo apago el horno y dejo el pay cocinar un poquito más mientras el horno se enfría.

Cuando lo saquen del horno, déjenlo enfriar y refrigerar por una noche, estará listo para comer al día siguiente.

Espero se animen a probar estas recetas para el Día de Acción de Gracias, fue muy rápido y fácil y tiene resultados deliciosos.

PO

PD. Aquí esta el video para las semillas. Tip final, yo use sal para palomitas que es más fina, funcionó muy bien.  

Nov 12, 2013

Apple Picking and Grandma Oviedo's Apple Pie Recipe


A few weeks ago I went apple picking, a very common activity here when it's fall, it was definitely a new experience, the funniest part, I think I was the only adult there that had never done it before. Even little kids knew better than me what they were doing.

We went to Eckert's Grafton Farm, we were lucky enough to enjoy nice weather, the country feel of the place was beautiful, the drive there was an adventure by itself, rivers, bald eagles and farms.

Once we started picking apples I was so worried I'd end up with pounds of apples and not know what to do with them, they are worth using for baking and cooking.


I decided to bake my grandma Oviedo's apple pie recipe, my mom bakes me this pie instead of cake every year for my birthday, that's how much I love it!

I was intimidated at first because my grandma was a great cook (Julia Child style!). My mom that knows all her tips and tricks sent me the recipe with extra help here and there. 


This pie definitely has a fall feel and it's perfect for the holiday season, don't be afraid to give it a try!

Grandma Oviedo's Apple Pie

Ingredients

4 medium sized apples (tip no. 1: green apples work the best for apple pie)
2 cups of flour
4 tablespoons of cold water
2 margarine sticks (room temperature)
1 pinch of salt
3/4 cup of sugar (tip no. 2: or less depending on how sweet you want your pie, I used a little less)
Grounded cinnamon to taste (around 1/2 tablespoon)
4 or 5 squares of butter
1 egg


In a bowl mix the flour with the salt and the margarine sticks (one at a time). When is well mixed add the iced water and mix until everything looks even, at this point you can use your hand, (tip no. 3: don't over do it because your hand will warm up the margarine and it'll make the mix hard to handle).When ready chill the dough for at least 30 minutes.


Meanwhile, peel the apples and slice them (tip no. 4: not too thin) and put them on water with a splash of lime to keep them from turning brown.Then put half of the dough on the mold and pinch it with a fork so when it's baking it breathes, and cover with the apple slices (tip no. 5: dry them before putting them on the mold, if they are too moist they'll make your crust soggy). Sprinkle them with sugar and cinnamon, spread the butter squares on top (I forgot to do this :( but my pie still turned out great).


Cover the crust with the rest of the dough and also pinch it with a fork. Glaze with the egg so it gets brown and crispy. Then cook in a preheated oven for around 40-45 minutes at 425° F (220° C).

Let it chill if you don't want the slices to crumble (we couldn't wait) and enjoy!

I even had enough dough left for a mini pie :)

Next week I'll share more pics of the Eckert's Farm, the pumpkin patch and I'll give pumpkin pie a try in time for Thanksgiving (my first! :D), wish me luck.

Love,

PO

........................................................................................................................................................................................

Cosecha de Manzanas y la Receta del Pay de Manzana de la abuela Oviedo

Hace unas semanas visite una granja de cosecha de manzanas, una actividad común en el otoño y definitivamente fue una nueva experiencia en parte porque creo que yo era la única persona adulta que lo hacia por primera vez. Todos los niños sabían mejor que yo lo que hacían.

Fuimos a una granja que se llama Eckert's en Grafton, Illinois. Tuvimos mucha suerte con el clima, la carretera es super bonita, con granjas, águilas migrando por el invierno y ríos.

Cuando empezamos a cosechar manzanas estaba muy preocupada con que hacer con ellas, valen mucho la pena para hornear y cocinar.

Decidí hacer el pay de manzana de mi abuela Oviedo, mi mamá me hace este pay todos mis cumpleaños en lugar de pastel por lo mucho que me gusta!

Estaba un poco intimidada al principio ya que mi abuela era muy buena cocinera (al mero estilo de Julia Child!). Mi mamá me mando la receta y me paso todos los tips y trucos.

Este pay es perfecto para el otoño y la temporada decembrina, ahi les va!

Pay de Manzana de la Abuela Oviedo

Ingredientes
4 manzanas medianas (tip 1: las manzanas verdes son las mejores para hornear)
2 tazas de harina
4 cucharadas de agua fría
2 barras de margarina a temperatura ambiente
1 pizca de sal
3/4 de taza de azúcar (tip 2: o un poco menos dependiendo que tan dulce quieran el pay, yo use un poquito menos y quedo muy bien)
Canela al gusto (mas o menos 1/2 cucharada)
4 o 5 cuadritos de mantequilla
1 huevo

Mezclar la margarina con la sal y la harina (una barra a la vez). Cuando este bien mezclado se agrega el agua fría para hacer una masa, pueden usar su mano, (tip 3: no se amasa demás porque la margarina se calienta con el calor de la mano y puede se un poco difícil de manejar). Cuando este listo se enfría la masa por lo menos 30 minutos.

Mientras tanto, se pelan y rebanan las manzanas (tip 4: no muy delgadas) y se ponen en agua con un poco de jugo de limón para que no se oxiden. La mitad de la masa se usa para cubrir el molde, se pica con un tenedor para que respire mientras se hornea y luego se cubre con las rebanadas de manzana (tip 5: hay que secar bien las manzanas para que no remojen la masa). Se cubren con el azúcar y la canela y se ponen los cuadritos de mantequilla.

Se tapa con el resto de la masa y también se pica con un tenedor para que respire. Se glasea con un huevo para que tenga un toque dorado y crujiente. Se hornea por 40-45 minutos a 220° C (425° F) en un horno precalentado.

Se deja enfriar y esta listo para probarse! A disfrutar!

La próxima semana compartiré mas fotos de Eckert's y de las calabazas y voy a intentar hacer un pay de calabaza en tiempo para el día de Acción de Gracias (mi primero :D ) deseenme suerte!

PO

Nov 5, 2013

When the Leaves Start Turning Yellow

See them changing! Uh Oh! They are yellow already!
One of the very brand new things I get to experience fall. Coming from Cuernavaca "The City of Eternal Spring" we miss out on the season changing.

Always sunny, slightly cold in the winter, everything stays green, flowers keep blooming all year long and we have sunny days most of the year (unless it's rainy season).

My "Eternal Spring"
Now when the leaves start turning yellow I think of the undeniable fact that the winter and it's very cold days are coming my way. I panic as the trees turn more and more yellow and orange everyday because I know for a fact that I'll freeze.

So lucky to experience this!
I'll be the one awkwardly dressed in everything I own every time I go out, and I will definitely ignore the looks as long as I am warm, no matter how ridiculous my outfits get. For now I've been getting ready, I just bought my first ever set of thermal underwear. I found that the best store to stock on socks, sweaters, thermal underwear and coats (that I didn't have or need before) is Burlington, and maybe Ross. They have very cool brands at affordable prices, so if you need an entire winter wardrobe like me, they are your best bet.

Very very pretty colors!
Back to the fall, so far, I can say the season changing is super pretty to watch and it is definitely something everyone should experience at least once.

As warm days get shorter and the cooler days are more and more common I still enjoy as much sun as I can, taking it all in as if I'm savoring it to remember it for the next cold months.

Wish me luck!

PO

...................................................................................................................................................................

Una de las primeras nuevas experiencias que ahora estoy conociendo es el otoño. Viniendo de Cuernavaca "La Ciudad de la Eterna Primavera" nos perdemos del cambio de estaciones.

Siempre soleado, un poco frío en el invierno, todo sigue siendo verde, las flores siguen brotando y hay sol casi todo el año (a menos que sea temporada de lluvias).

Ahora cuando las hojas de los arboles empiezan a ser amarillas pienso en la innegable realidad de que el invierno y sus muy fríos días están en puerta. Entro en pánico cada vez que veo los árboles más y más amarillos y naranjas porque se con seguridad que me congelaré.

Yo seré la persona vestida raramente que todo lo que tengo cada vez que salga y definitivamente ignoraré las miradas mientras me sienta caliente no importa que tan ridículos sean mis atuendos. Por ahora me estoy preparando, compré mi primer pijama térmica. La mejor tienda que he encontrado para llenar tu guardaropa de calcetines, suéteres y abrigos (que no tenía o había necesitado) es Burlington y tal vez Ross. Tienen muy buenas marcas a precios aceptables, así que si necesitan como yo un guardarropa para el invierno, seguro encontrarán algo ahí.

Regresando al tema del invierno, hasta ahora puedo decir que el cambio de estación es muy muy bonito y definitivo algo que nadie debe perderse aunque sea una vez en su vida.

Mientras los días soleados son menos y los días fríos más y más comunes trato de disfrutar tanto como puedo el sol, como si estuviera guardándolo para recordarlo los siguientes meses de frío.

Deséenme suerte!

PO